
Far Cry 3 Tweak Guide
[Page 14] Adv. Tweaking Part 3
Water
The Water section needs to be created in GamerProfile.xml, and with your custom id="" string for your particular level of the in-game Water setting (Low, Medium, High or VeryHigh).
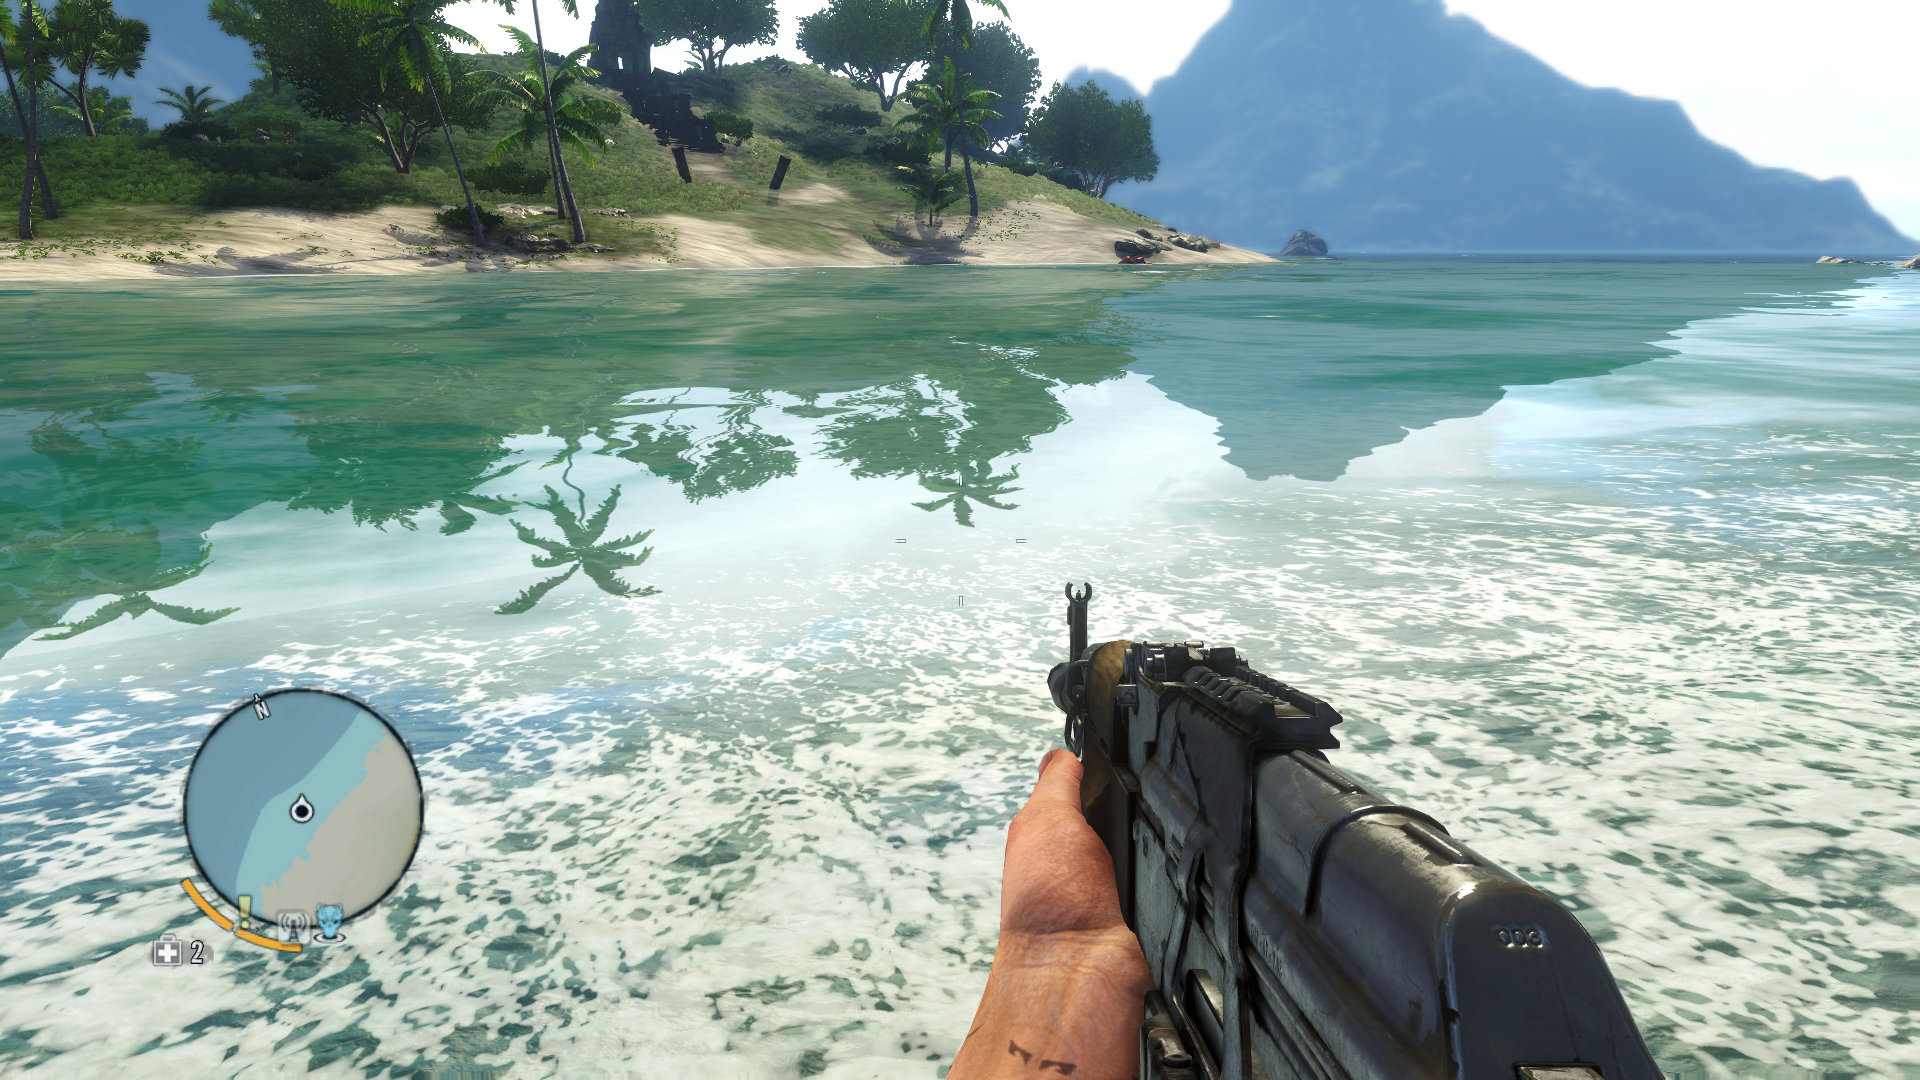
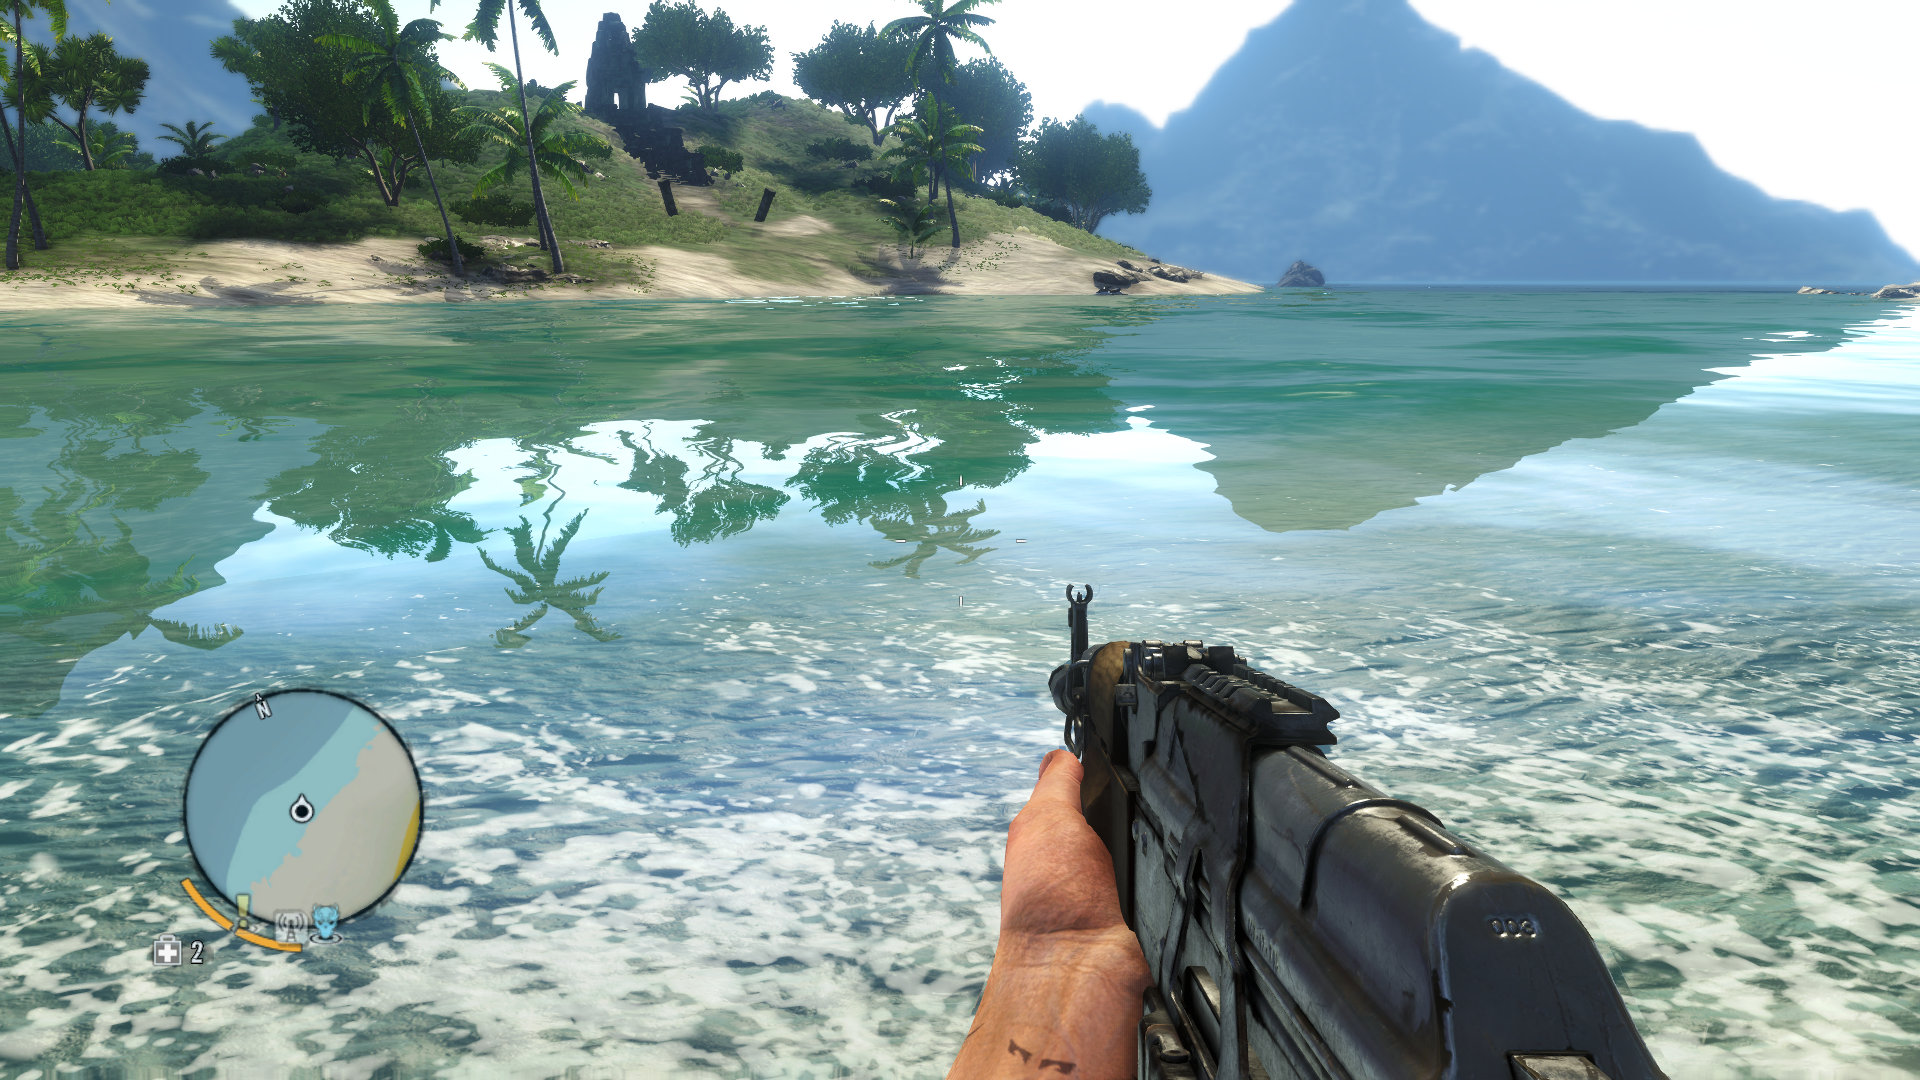
Click here for an interactive comparison between Reflection Quality at 1 And 8, and here for an interactive comparison between Reflection Quality at 4 And 8.
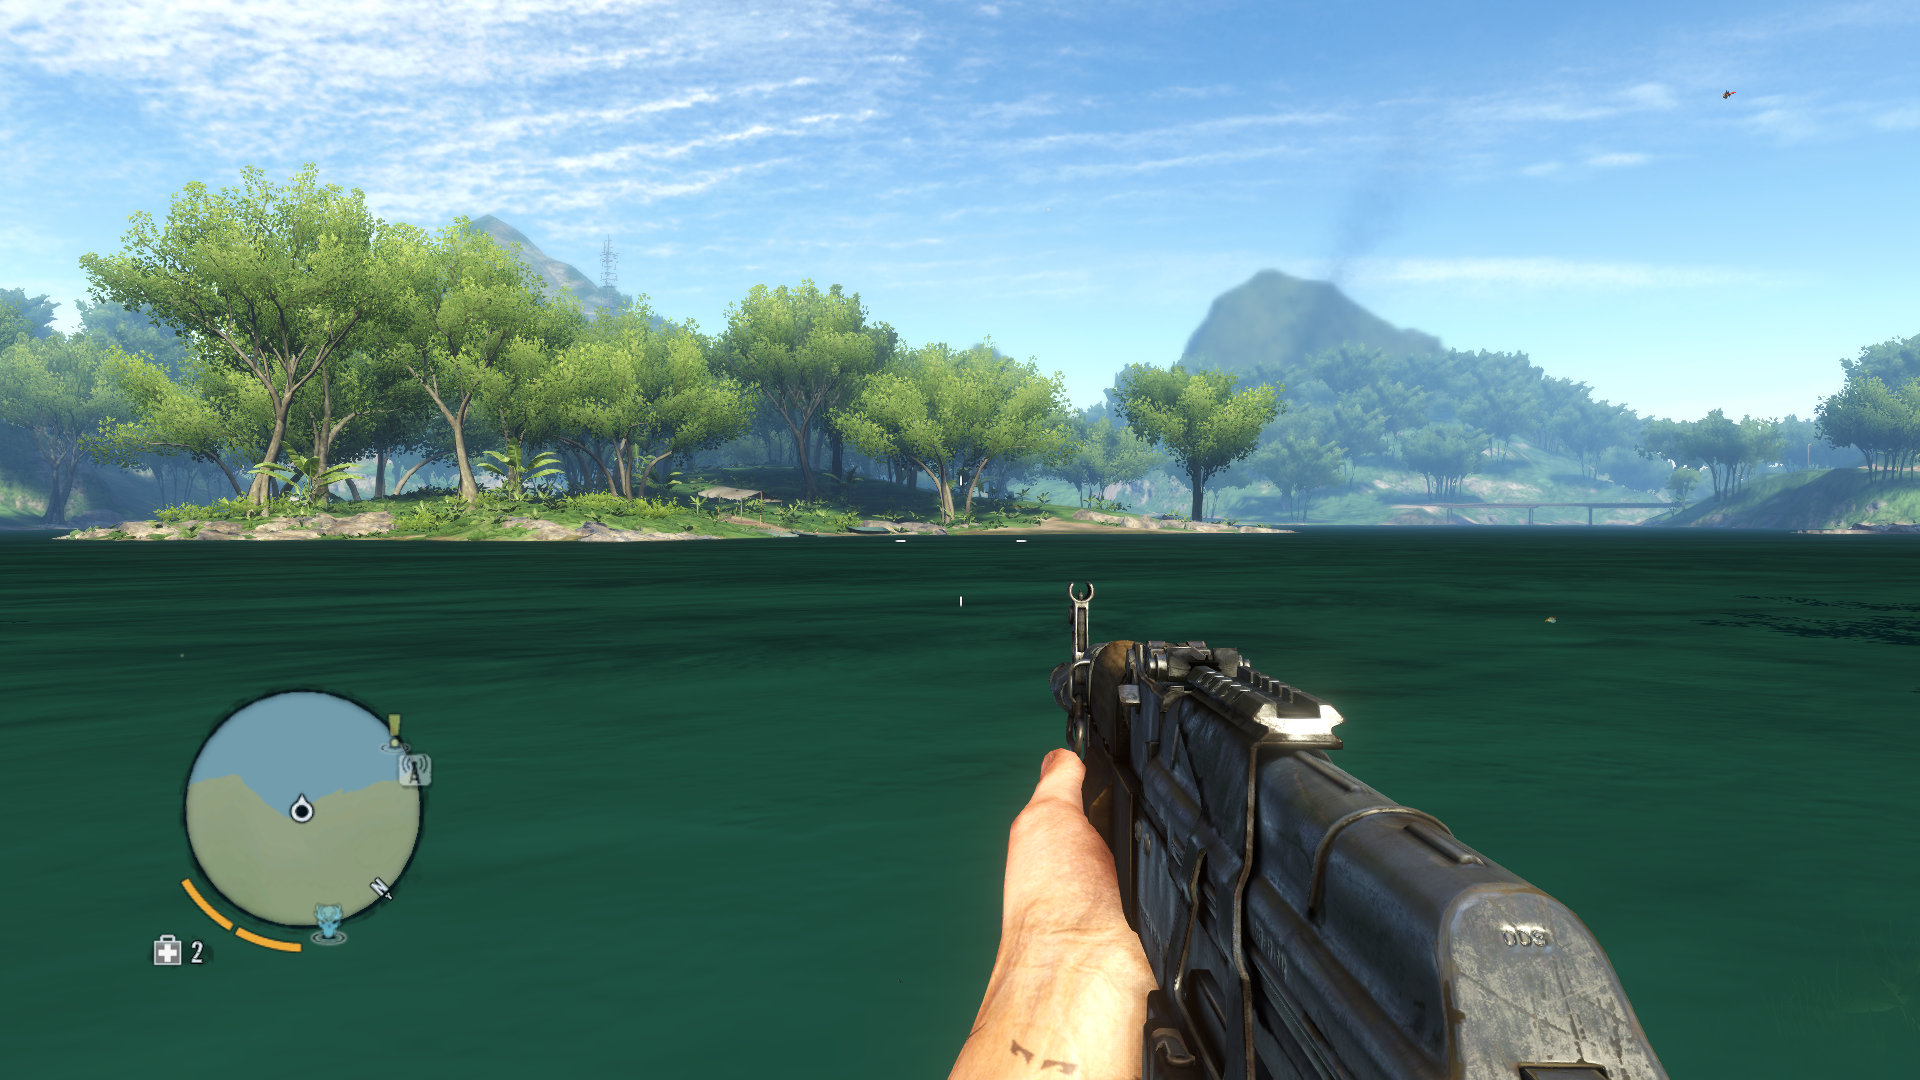
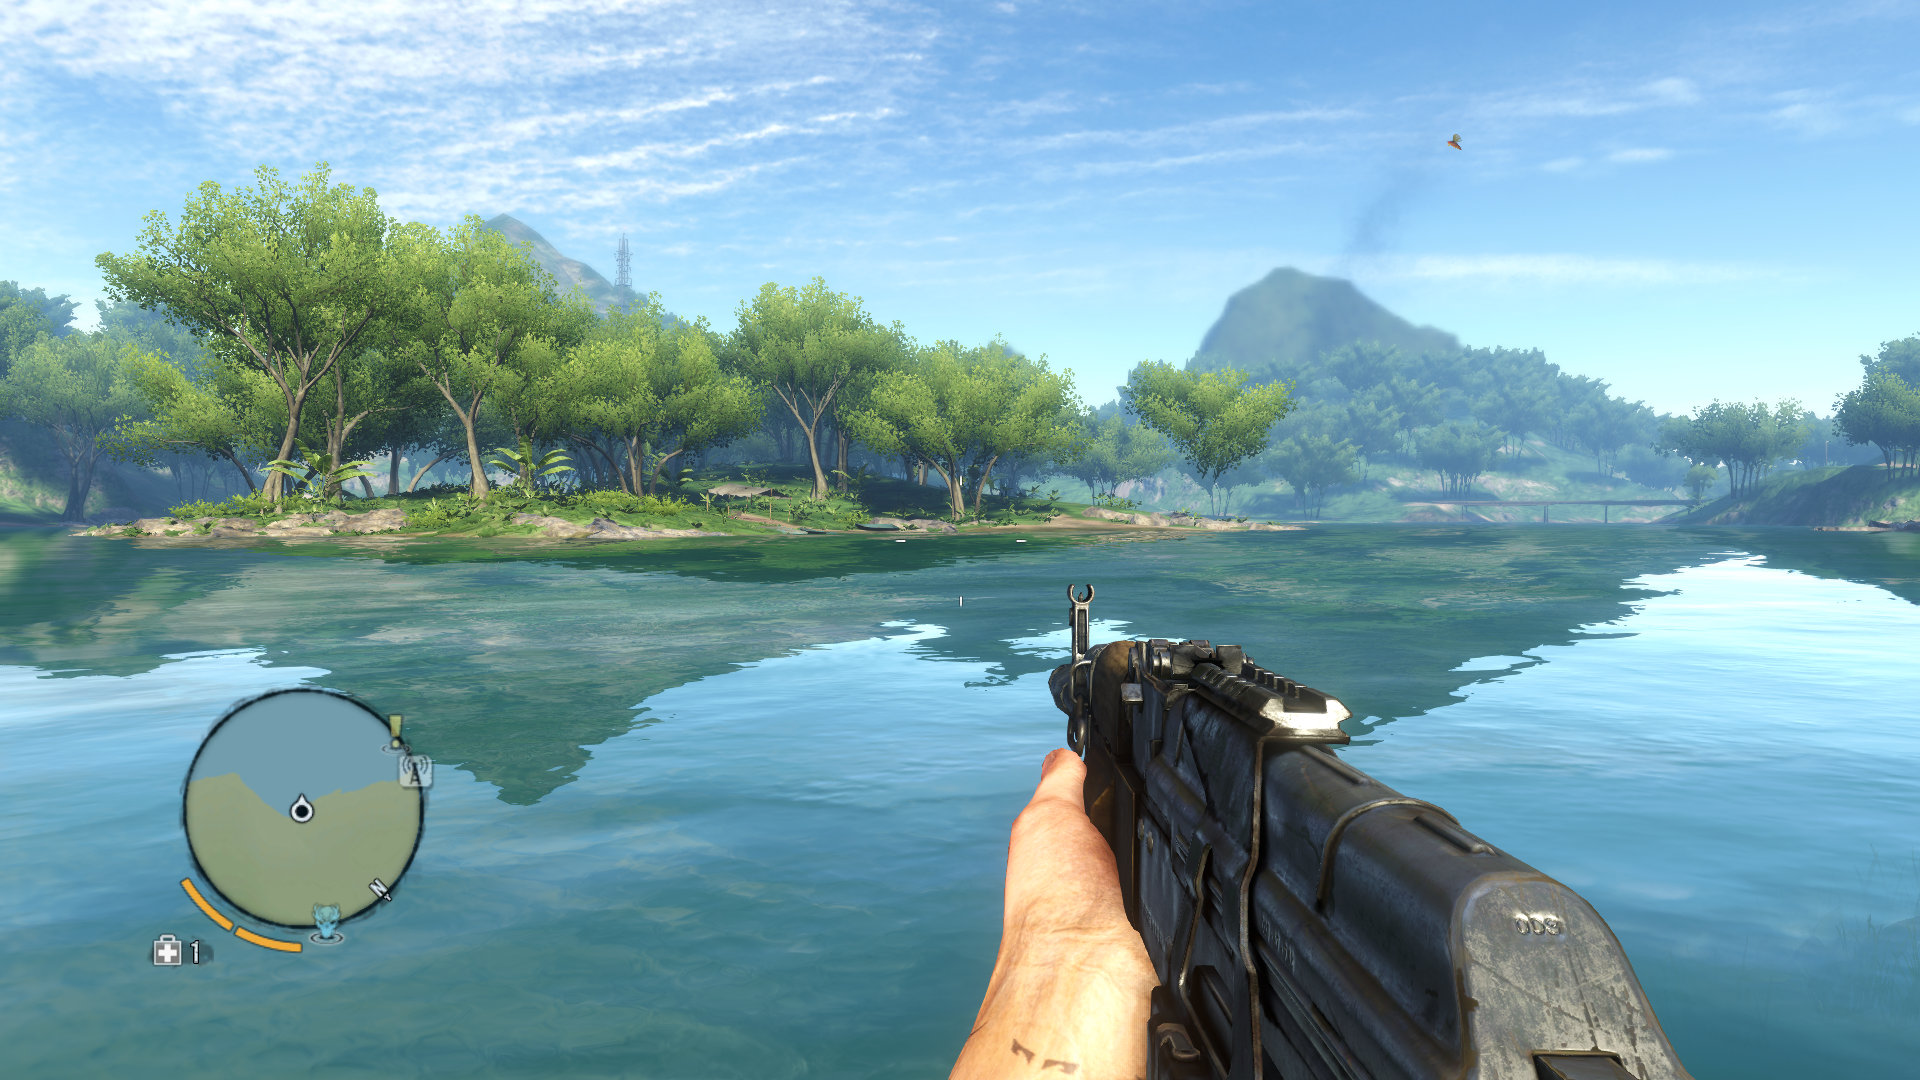
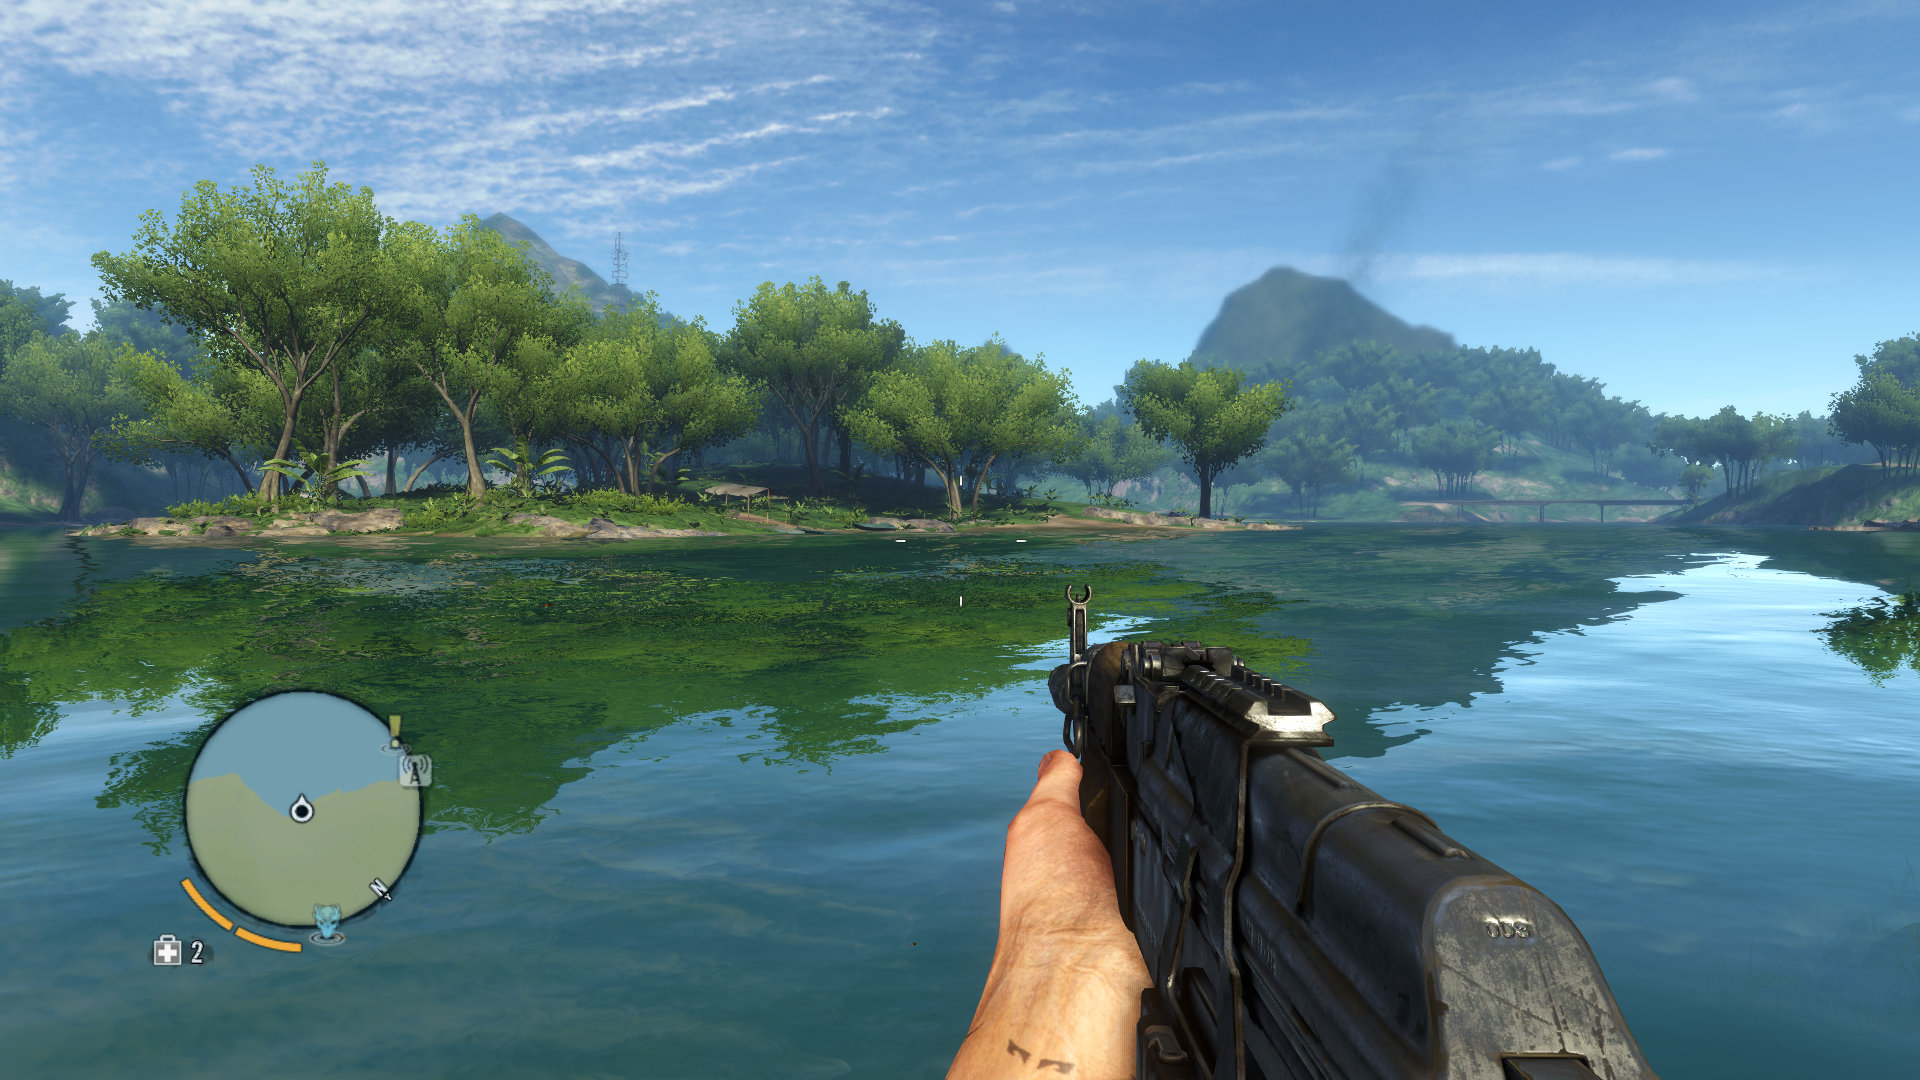
WaterReflectionQuality="8"
This command provides the easiest way to adjust the overall appearance of water in the game. The lowest value is 1, and higher values will improve water surface quality. The screenshots above show that at ="1", the water is completely unrealistic; at ="4" the surface looks much better, but is missing some reflections; and at ="8", the quality is at maximum.
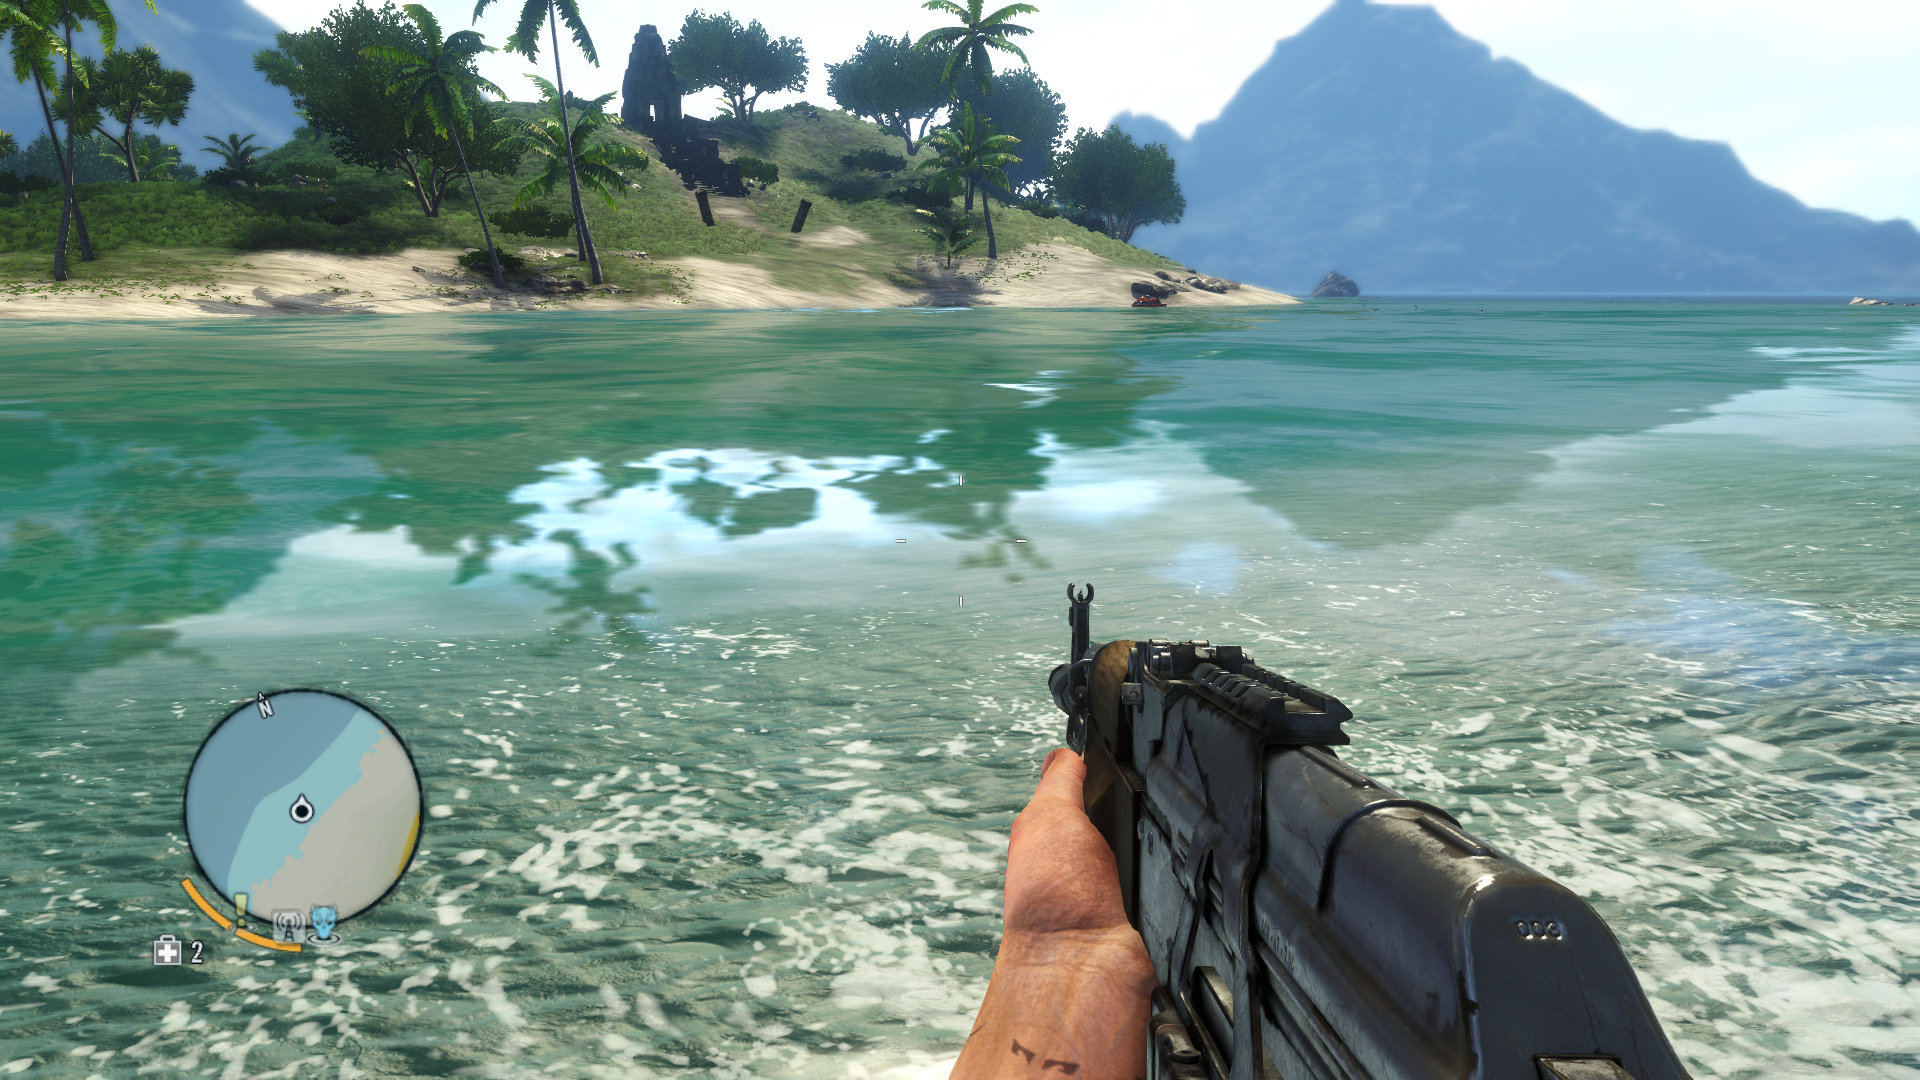
Click here for an interactive comparison between Reflection Size at 128 And 2048, and here for an interactive comparison between Reflection Size at 1024 And 2048.
ReflectionTextureSizeX="2048"
ReflectionTextureSizeY="2048"
These commands control the resolution of surface reflections on bodies of water. The higher the values used, the more detailed reflections, and the lower the value, the more blocky and generic the reflections. One use for this command is to set a value for water reflections that is higher than the maximum resolution possible with the in-game settings (1024x1024). The screenshots above demonstrate that at a resolution value of 2048x2048, the reflection is more crisp and detailed than the in-game maximum of 1024x1024, and in turn, if you lower the resolution to 128x128, the reflections are extremely poor as a result, but performance may improve.
OceanRealReflection="1"
This command controls whether any reflections are shown on the ocean's surface, independent of the reflections shown on inland bodies of water. One handy use for this command is if you are using a Water setting of Medium or Low, which by default disables ocean reflections. You can insert this command and set it to ="1" to enable ocean reflections, allowing you to use a lower Water setting without having to sacrifice the realism of reflections on the ocean.
Geometry
The Geometry section needs to be created in GamerProfile.xml, and with your custom id="" string for your particular level of the in-game Geometry setting (Low, Medium, High, VeryHigh or UltraHigh).
LodScale="0.5"
KillLodScale="0.5"
ClustersLodScale="1.0"
RealTreesLodScale="0.7"
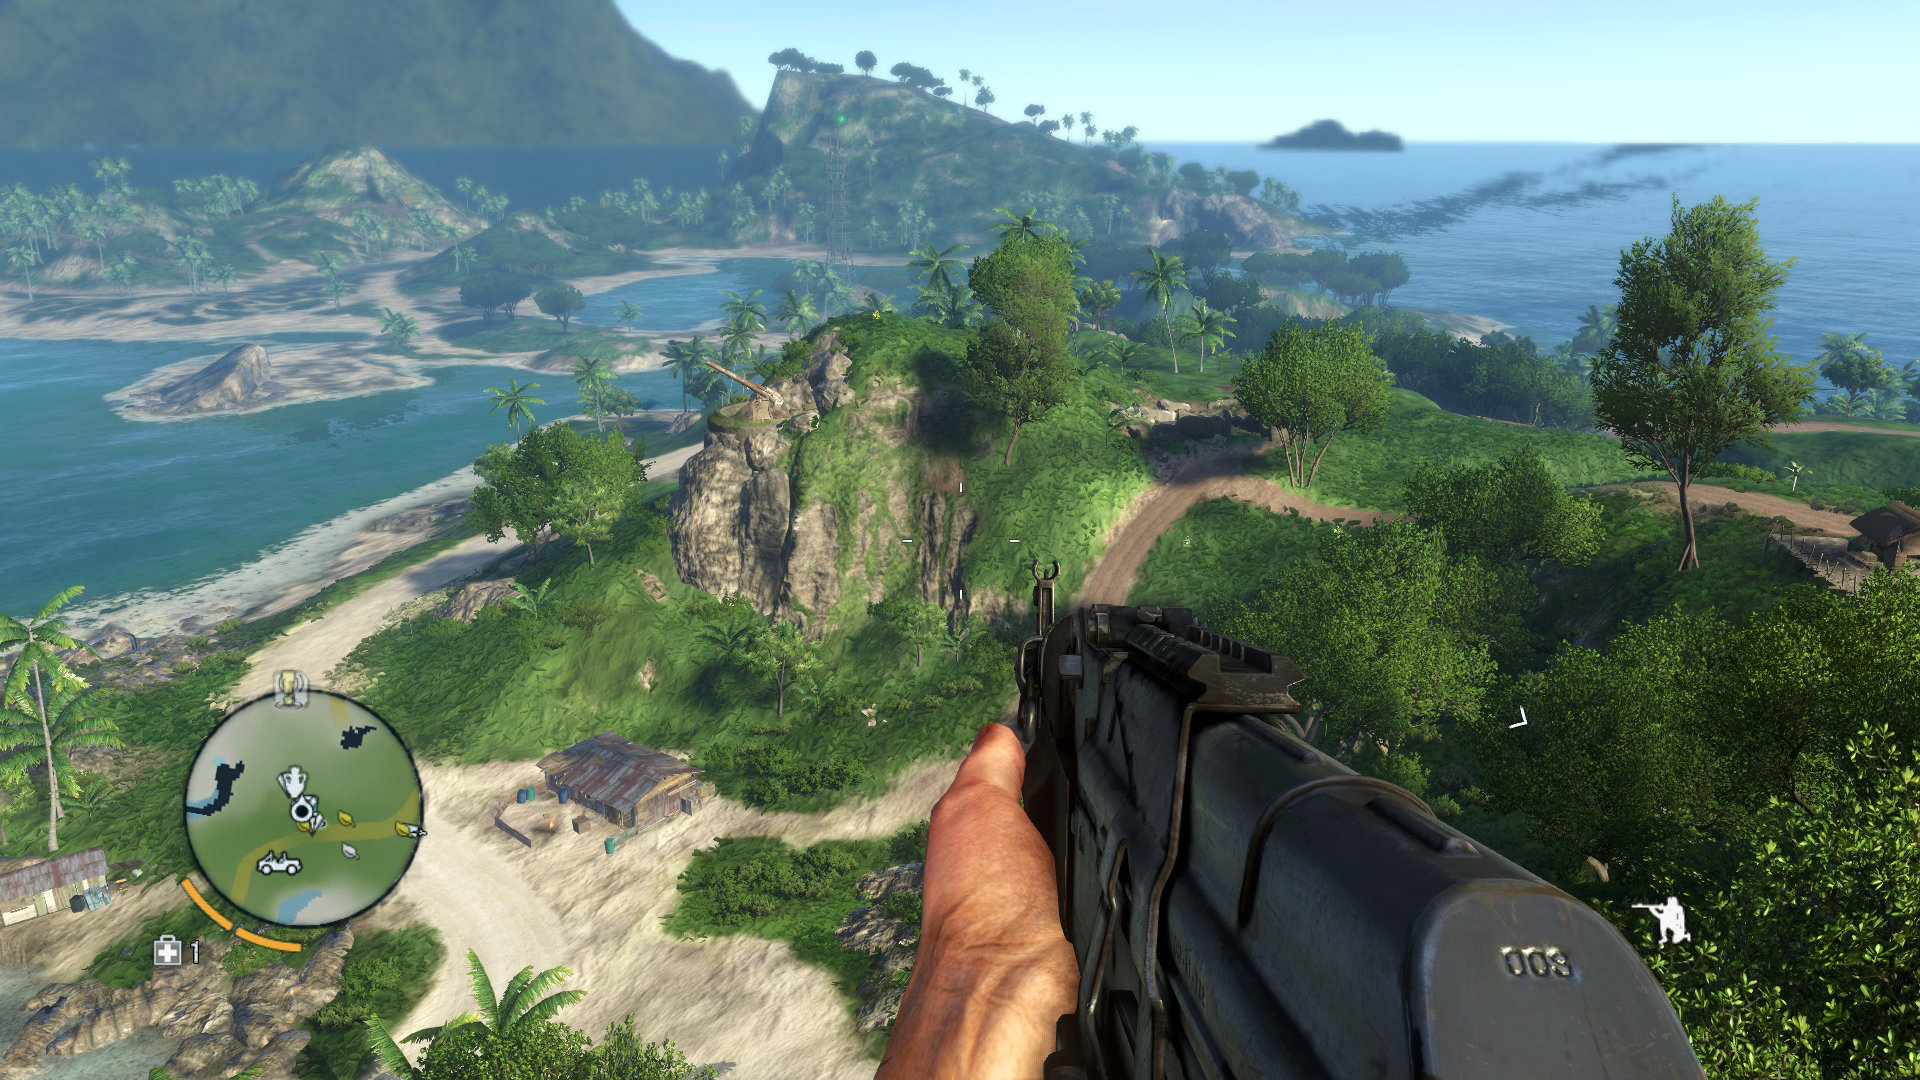
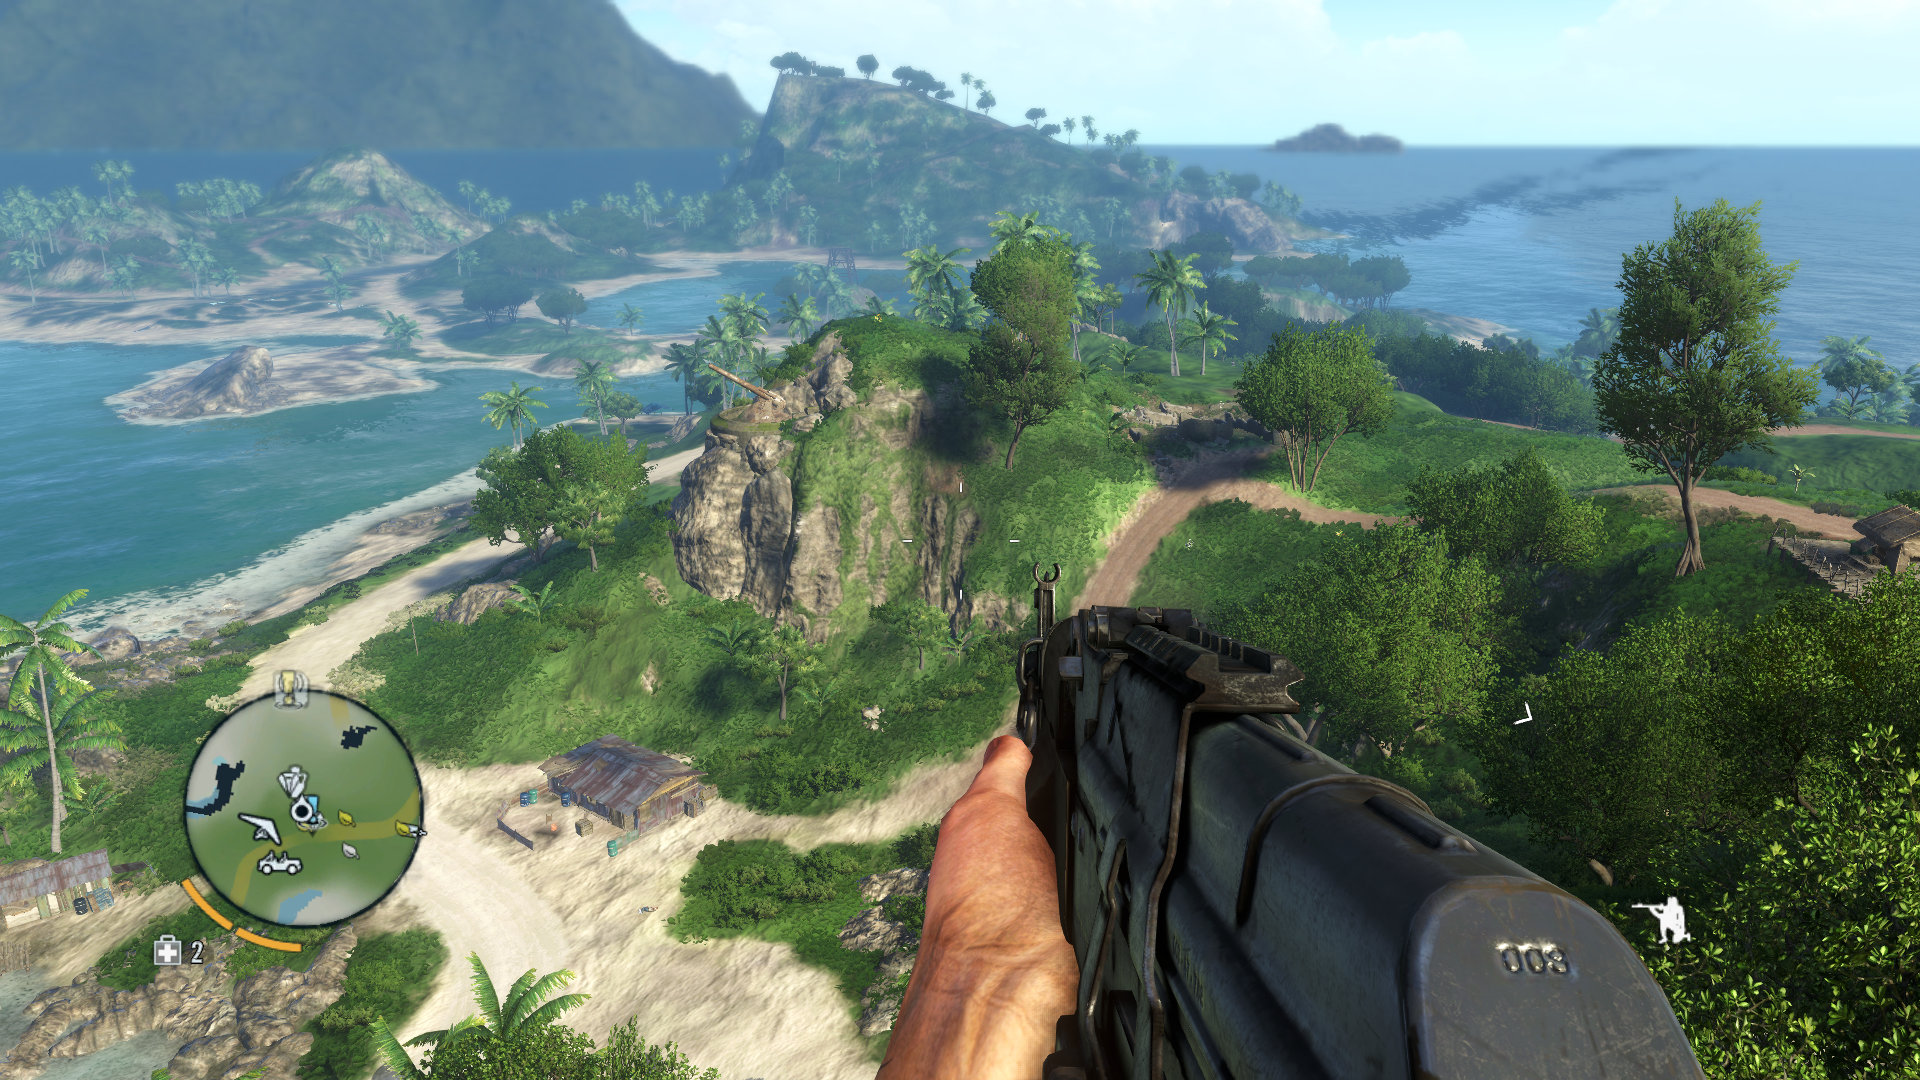
LOD stands for Level of Detail, and the commands above determine the distance out to which various objects are rendered in more detail. The maximum possible LOD values in the game - when Geometry is set to Ultra - are LodScale="0.5", KillLodScale="0.5", ClustersLodScale="1.0" and RealTreesLodScale="0.7". You can adjust LOD independently using these commands, but it's quite tricky and generally not recommended.
Typically, lowering the LodScale command's value will increase closer detail, but may reduce distant detail, while KillLodScale appears to do the opposite. Combining the two to get the benefits of both does not seem to work.
The screenshots above demonstrate that lowering LodScale from 0.5 to 0.1 does indeed add more detail in the form of some additional grass, a few more trees, and if you look at the shacks at the bottom of the scene, they have more detail on them. But at the same time, the top of tower with the flashing green light that's barely visible in the distance also disappears when LodScale is lowered. Similarly, ClustersLodScale controls the LOD for grass, but if lowered, quirks are introduced, such as most grass disappearing while driving a vehicle. RealTreesLodScale seems to provide no visible benefit when lowered to 0.1.
Shadow
The Shadow section needs to be created in GamerProfile.xml, and with your custom id="" string for your particular level of the in-game Shadow setting (Low, Medium, High, VeryHigh or UltraHigh).
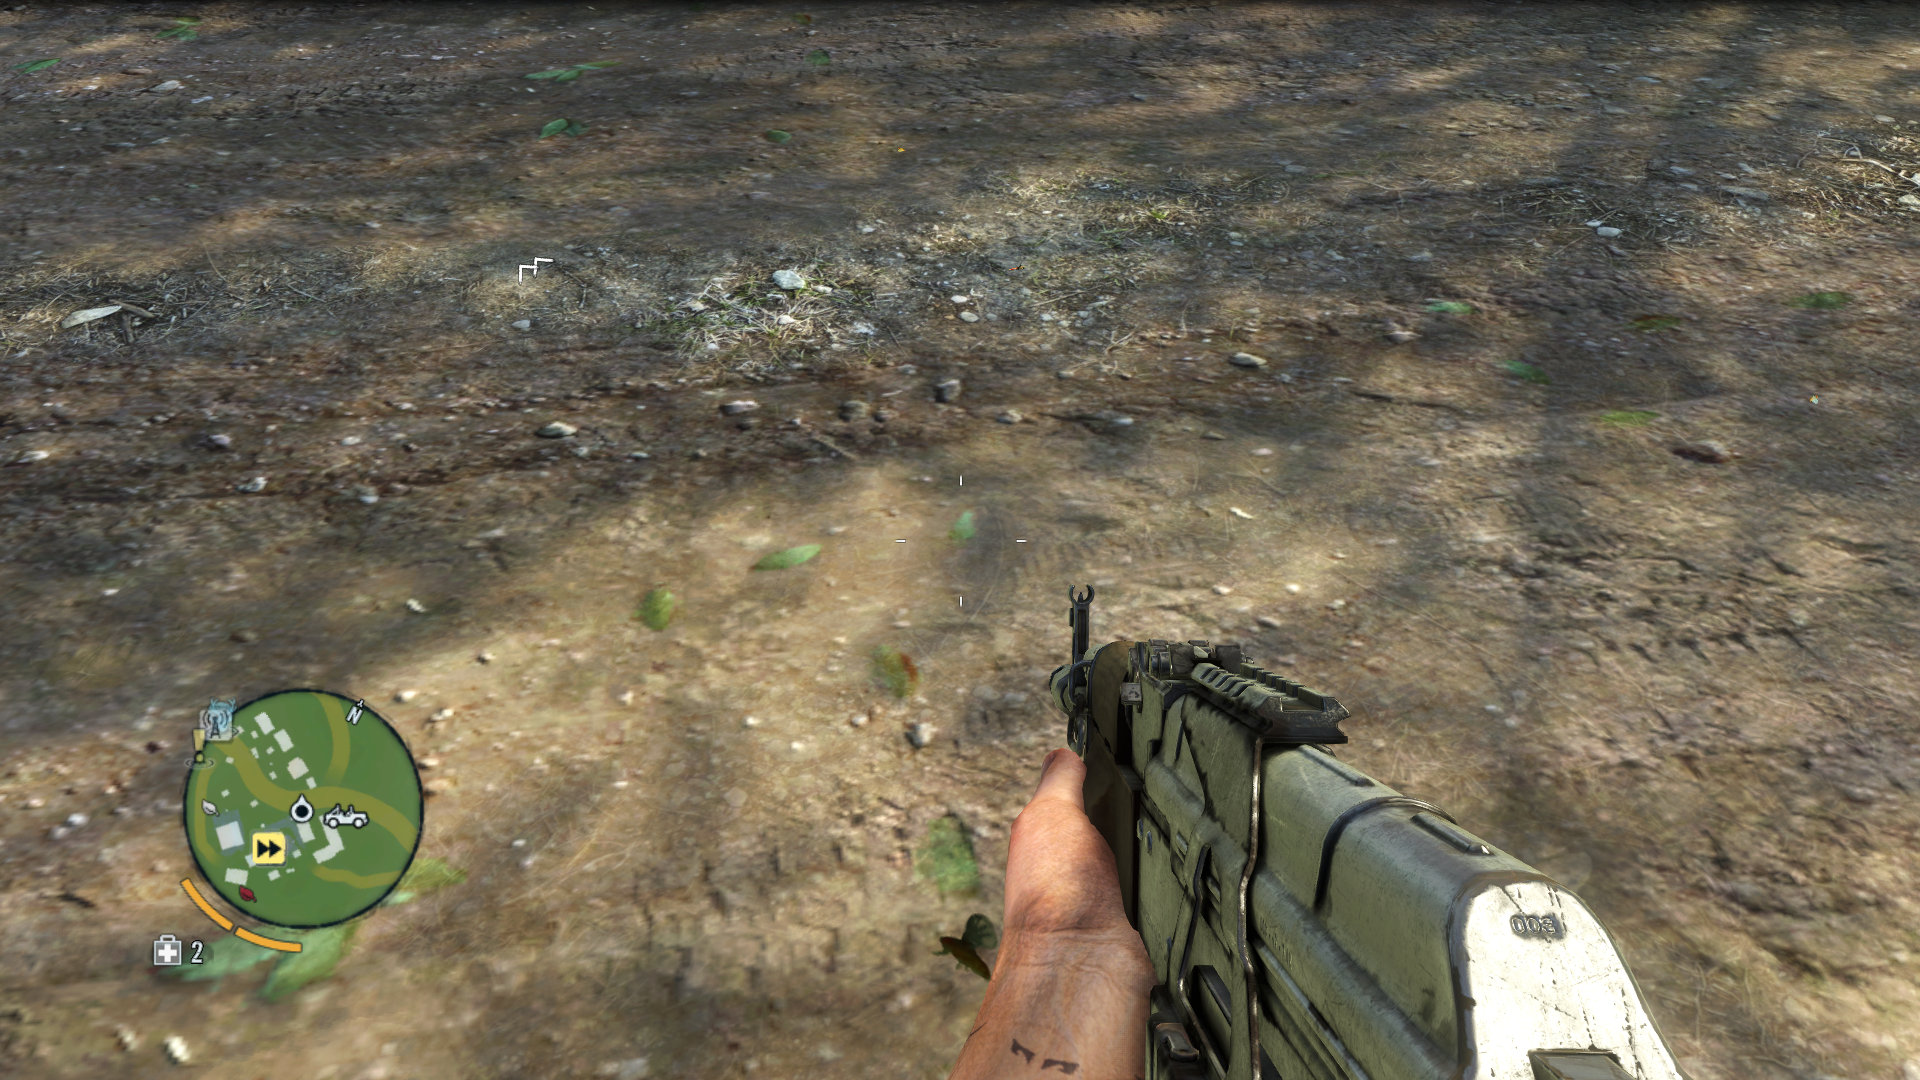
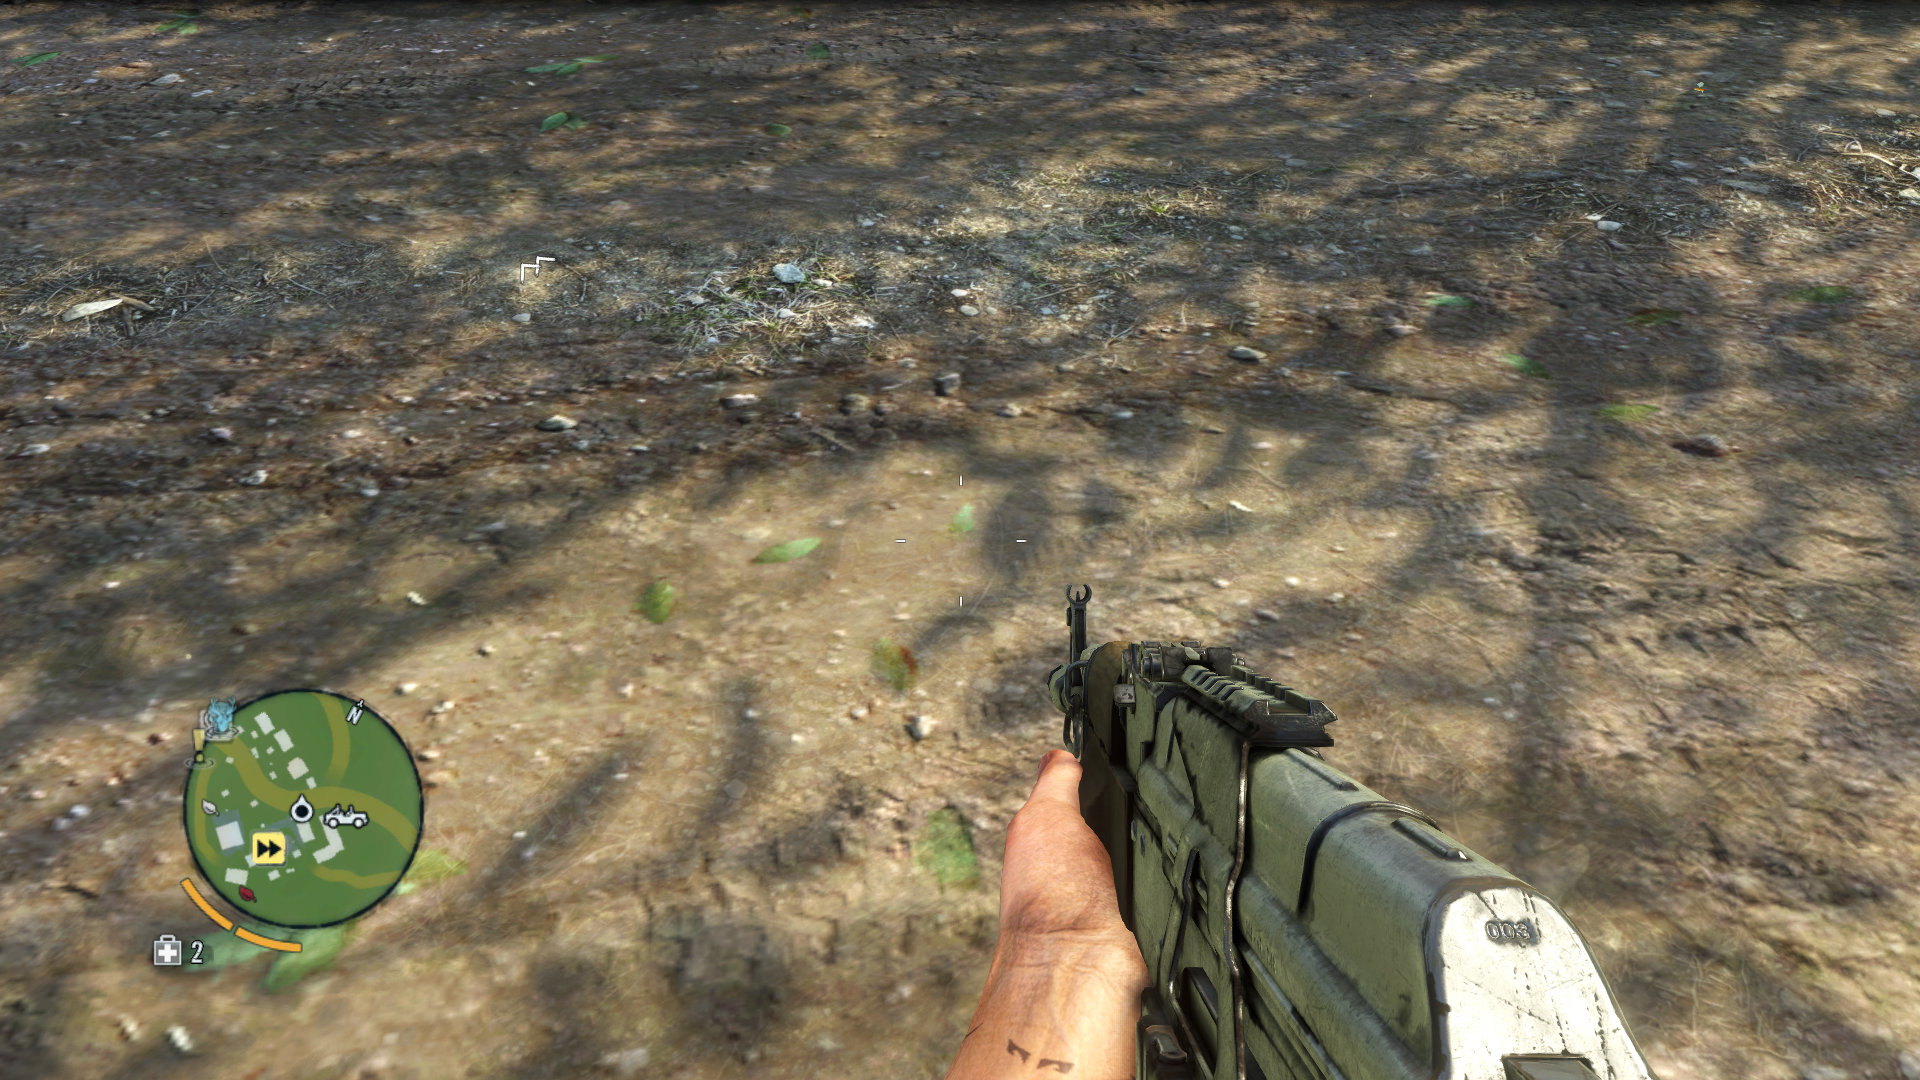
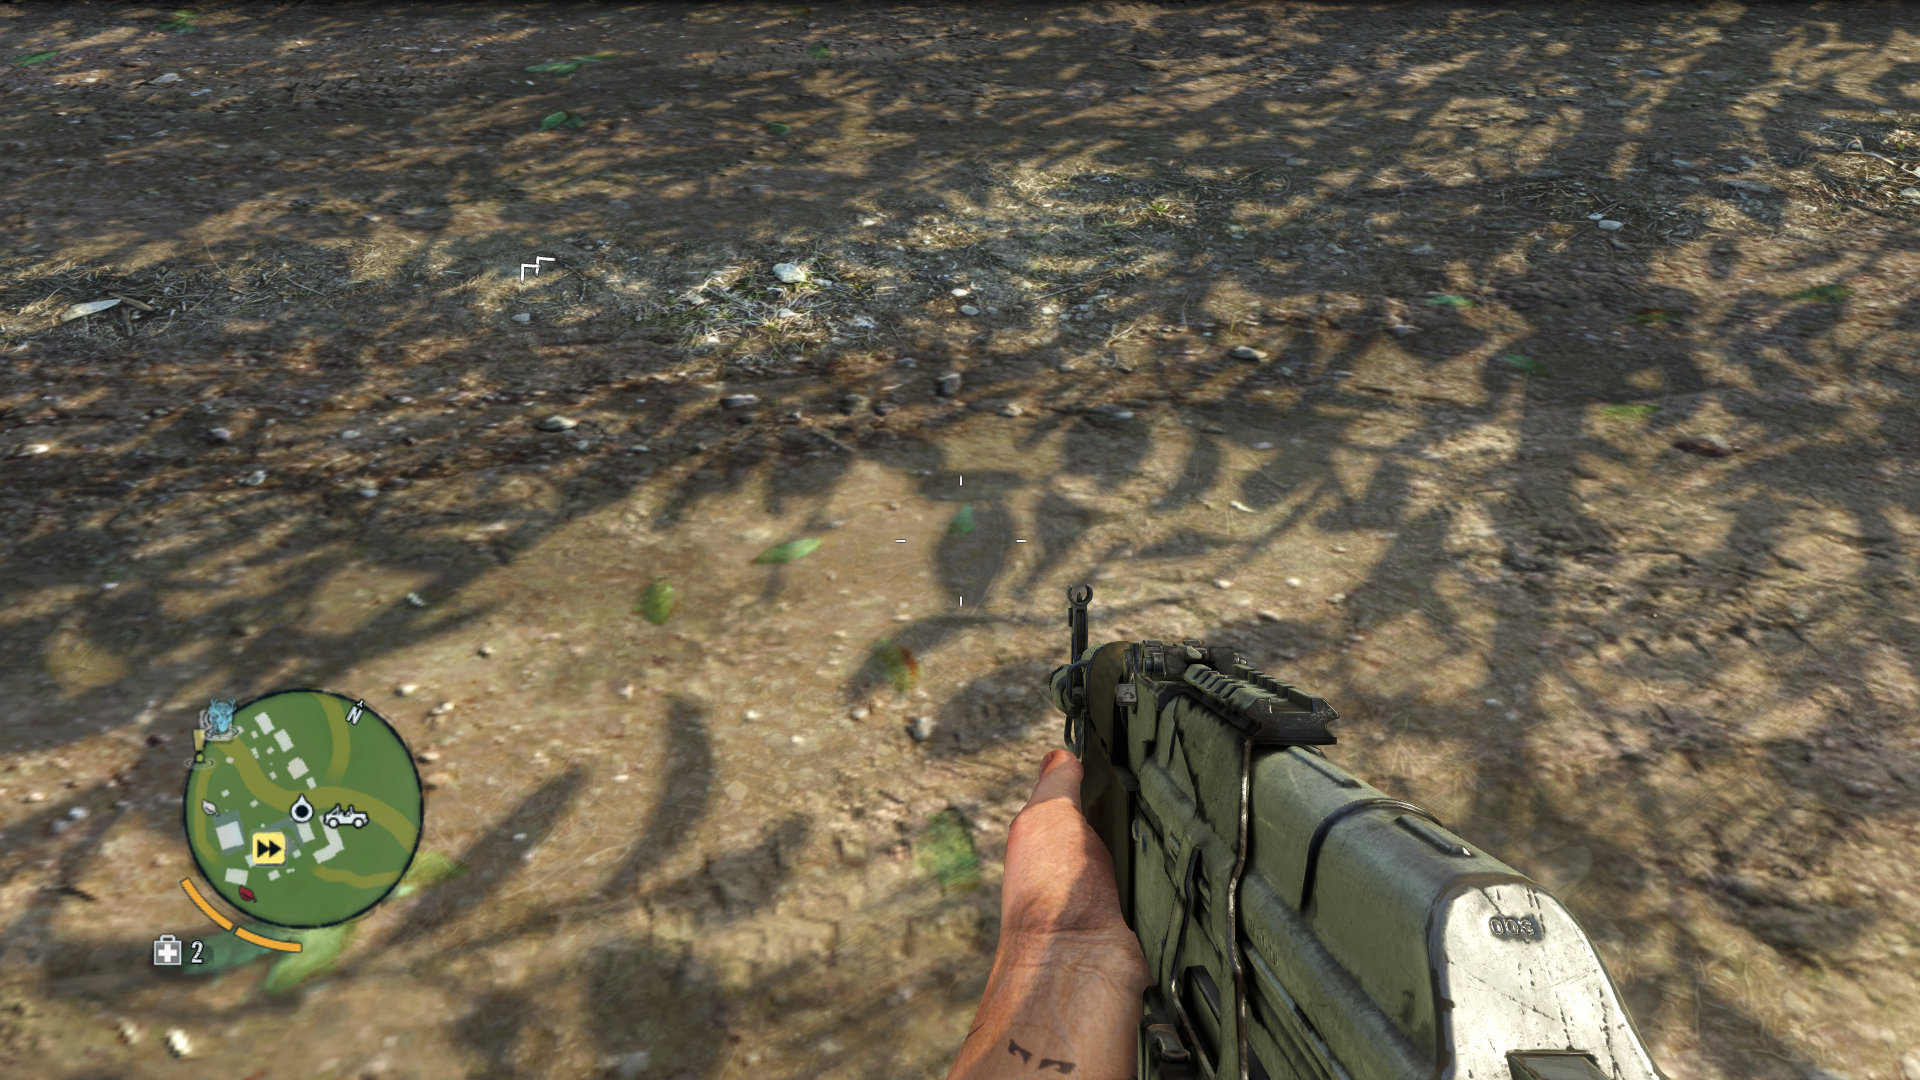
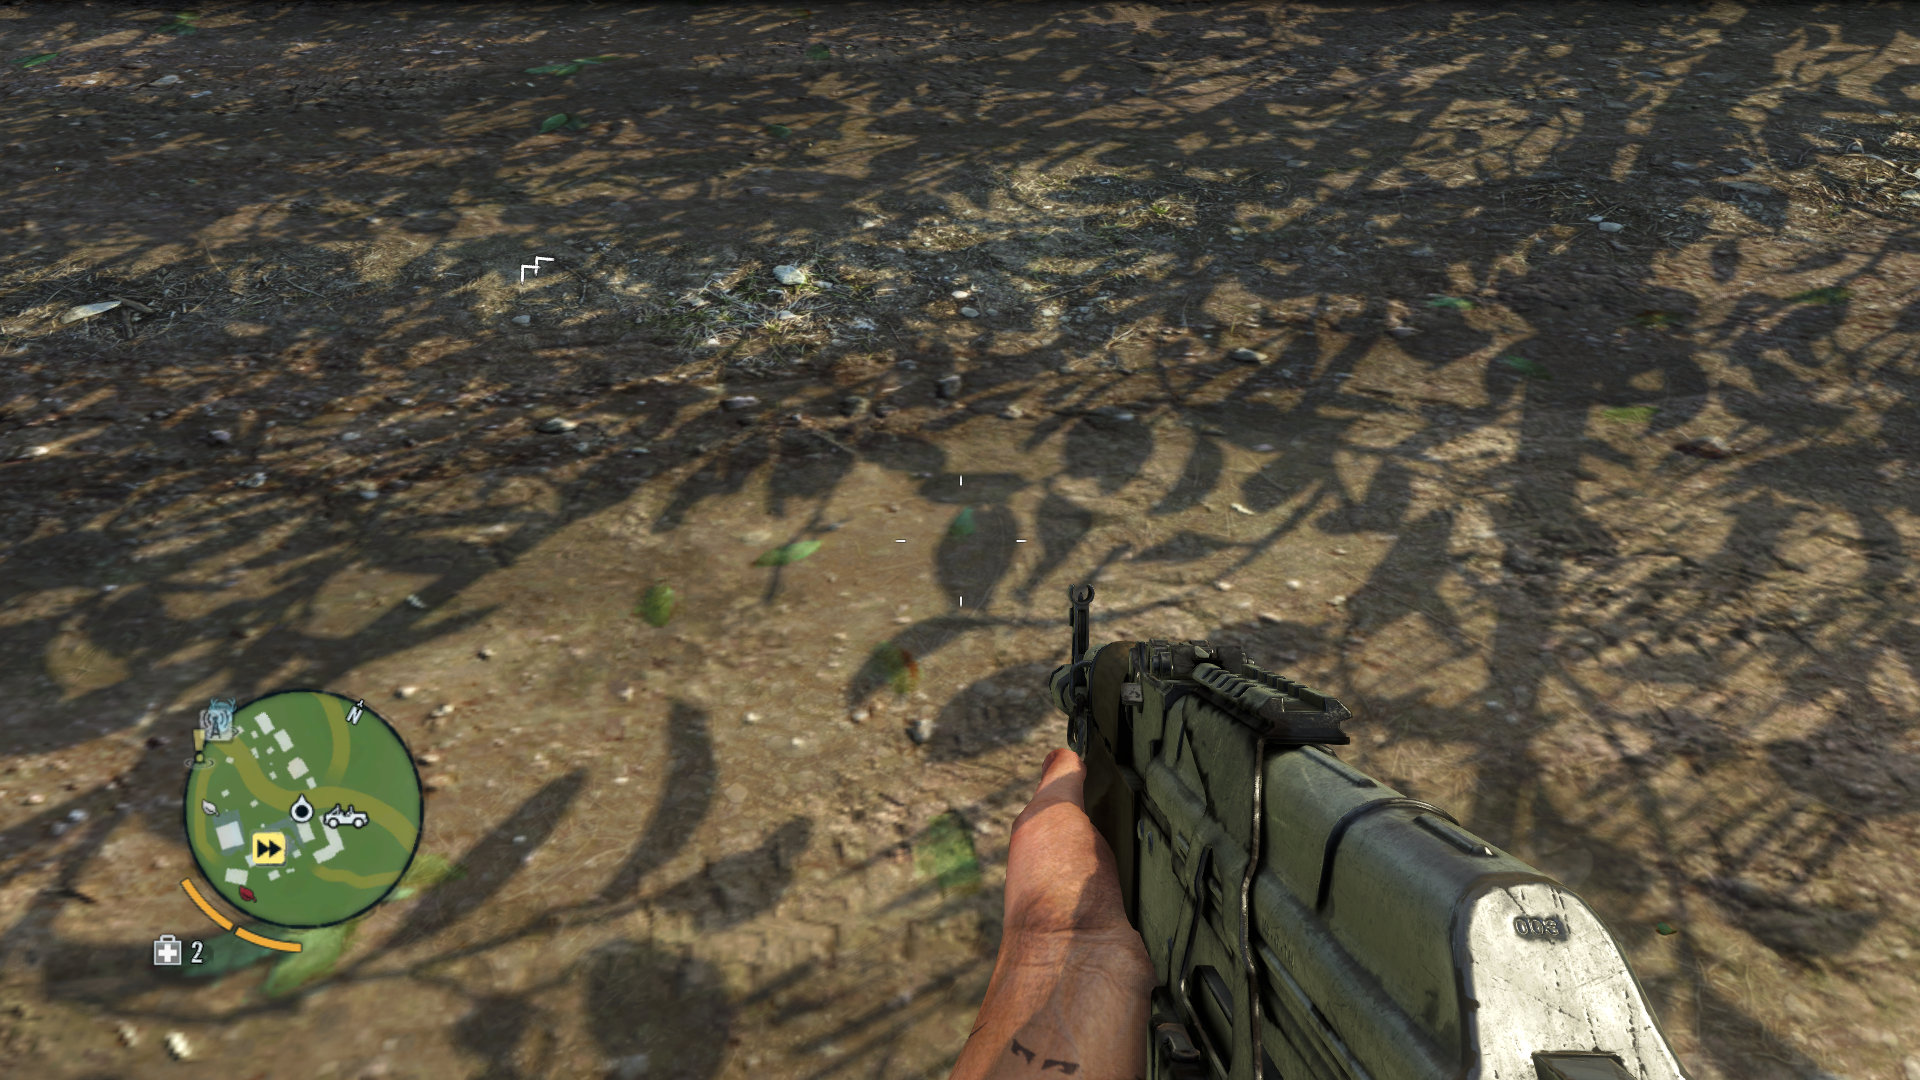
ShadowMapSize="2048"
CascadedShadowMapSize="2048"
The two commands above control the resolution of the shadows cast in the game. The highest value for these within the game, when Shadow is set to Ultra, is ="2048". However you can adjust shadow resolution much further by manually raising the values of these two commands. The screenshots above demonstrate that as ShadowMapSize and CascadedShadowMapSize are both raised, the quality and detail of shadowing improves. At ="4096", which is twice the in-game maximum, we get a nice improvement in shadow quality, but it comes with a noticeable performance drop; at ="6144", there's further improvement at even more FPS cost; at ="8192" (not pictured), the game would not load up properly.
SoftShadows="1"
This command controls the edges of shadows; when set to ="1", shadows have softer edges, when set to ="0", shadows have harsher edges.
DisableShadow="1"
DisableShadowGeneration="1"
DisableShadowGenTerrain="1"
If you wish to disable dynamic shadows, add all of the variables above and set them to ="1". This can significantly improve performance on older systems, and some static shadows will remain, so the game world will not look too unrealistic. However it can also result in graphical glitches.
Terrain
The Terrain section needs to be created in GamerProfile.xml, and with your custom id="" string for your particular level of the in-game Terrain setting (Low, Medium, or High).
TerrainLodScale="0.1"
Similar to the other LOD settings covered under the Geometry section further above, this LOD setting controls the level of detail on terrain surfaces. It can be lowered from the in-game maximum of ="0.5" to a value such as "0.1" to improve terrain surfaces a bit more, but the difference is typically minor.
TerrainDetailViewDistance="512"
This command determines the distance at which detailed surfaces appear on terrain. The highest value that can be set using the in-game settings is ="512", and in testing higher values, no further improvement was noted. However, it does allow you to lower the main Terrain setting and then independently set a higher terrain detail view distance if you wish.
That concludes the tweaking of GamerProfile.xml. Keep in mind that the commands presented in this section were only those that I consider to be the most useful, and have noticeable image quality or performance impacts. There are a range of other commands that were tested and discarded, as they appeared to be non-functional, provided little scope for tweaking in any truly useful manner, or could be fully adjusted using in-game settings. For the most part, Far Cry 3 when set to Ultra quality appears to reach pretty much the maximum possible settings in most areas. Therefore, the best use for tweaking the GamerProfile.xml file is to lower certain settings in the game that are known to be performance intensive, such as DirectX, Post FX or Water, and then enable only those individual effects you really can't do without, or disable those effects that really bug you.
As always, don't blindly copy the contents of anyone else's GamerProfile.xml file, as it will undoubtedly contain some undesirable changes that will not suit you or your system. Remember also that you must keep this file read-only to prevent your customizations from being overwritten. It's a good idea to save just your customizations in a separate text file in the same folder, so that when Far Cry 3 is patched in the future, you can allow GamerProfile.xml to be updated properly with any changes, and then reapply any necessary customizations.
On the next page, we wrap up the advanced tweaking by looking at anti-aliasing options and other types of enhancements.
|
|
|
|
![]()


This work is licensed under a Creative Commons Attribution 4.0 International License.